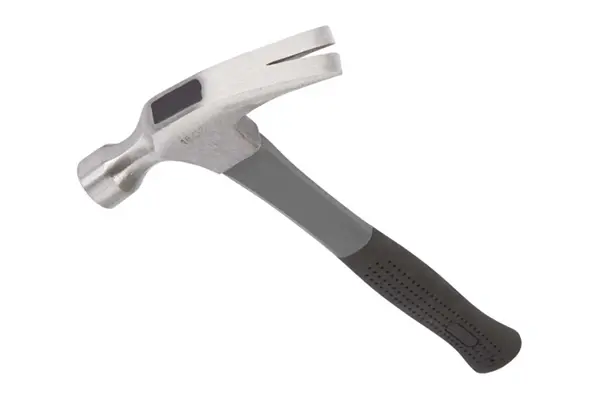
A rip claw hammer is a versatile and essential tool for any DIY enthusiast or professional carpenter. However, wielding this mighty tool effectively requires more than just strength. It's crucial to understand the proper technique for holding a rip claw hammer to maximize control, accuracy, and safety.
Holding a rip claw hammer correctly forms the foundation for efficient and safe hammering. Here are the fundamental steps to follow:
- Positioning Your Hand
Start by placing your dominant hand on the handle, gripping it firmly but not excessively tight. Your hand should be positioned near the end of the handle, allowing for better control and leverage. Avoid gripping too close to the head of the hammer, as it may limit your control and accuracy.
- Aligning Your Wrist and Forearm
Ensure that your wrist and forearm are in a straight line, forming a natural extension of each other. This alignment allows for a powerful and accurate strike while minimizing strain on your joints. Keeping your wrist and forearm aligned also enhances your control over the hammer's movement.
The Claw Grip Technique
The claw grip technique is essential for tasks that involve both hammering and nail removal. Mastering this technique will greatly enhance your efficiency and productivity. Let's delve into the steps:
- Hammering Stance
Adopt a comfortable and balanced stance, with your feet shoulder-width apart. This stance provides stability and helps maintain control while hammering.
- Gripping the Handle
Wrap your dominant hand around the handle, ensuring a firm grip. Place your thumb on the side of the handle, facing towards the hammer's head. This thumb placement provides stability and control during impact.
- Using Your Other Hand
If necessary, use your other hand to support and guide the hammer. You can lightly rest your non-dominant hand on the side of the hammer's handle, near the base. This hand provides additional stability and control, especially for precise strikes.
- Nail Removal Technique
When removing nails, position the hammer's claw under the nail head. Apply downward pressure while pulling the handle towards yourself, using the leverage of the claw. This motion helps pry the nail out smoothly and efficiently.
Safety Considerations and Tips
- Eye Protection
Always wear safety goggles or glasses to protect your eyes from potential flying debris or nail fragments. Safety should be your top priority when working with a rip claw hammer.
- Mind Your Surroundings
Before swinging your hammer, ensure that you have a clear and clutter-free workspace. Be mindful of people or objects in close proximity to avoid accidental injuries or damage.
- Start with Controlled Strikes
When beginning a hammering task, start with controlled and precise strikes. Gradually increase your power and speed as you become more comfortable and confident with your grip and technique.
- Maintain a Secure Grip
Throughout your hammering, periodically check your grip to ensure that it remains secure. A loose grip can lead to accidents or loss of control.
- Practice and Patience
Mastering the proper grip and technique for holding a rip claw hammer takes practice and patience. Don't be discouraged if it feels awkward at first. With time and repetition, you'll develop the muscle memory and skill required for efficient hammering.
Conclusion
Properly holding a rip claw hammer is the key to effective and safe hammering. By following the fundamentals of grip, mastering the claw grip technique, and considering safety tips, you'll be well on your way to becoming a proficient hammer wielder. Remember, practice makes perfect. So, grab your hammer, adopt the right grip, and let your DIY projects flourish with accuracy and control.
Post time: 04-10-2024


