9 Essential Steps in the Hammer Manufacturing Process
The process of manufacturing a hammer involves several precise and crucial steps to ensure the final product is durable, functional, and safe to use. Here’s a breakdown of the essential steps involved in creating a high-quality hammer:
- Material Selection: The first step is to choose the right materials for both the hammer head and the handle. Typically, the hammer head is made from high-carbon steel or other robust alloys, while the handle may be crafted from wood, fiberglass, or metal, depending on the intended use and design preferences.
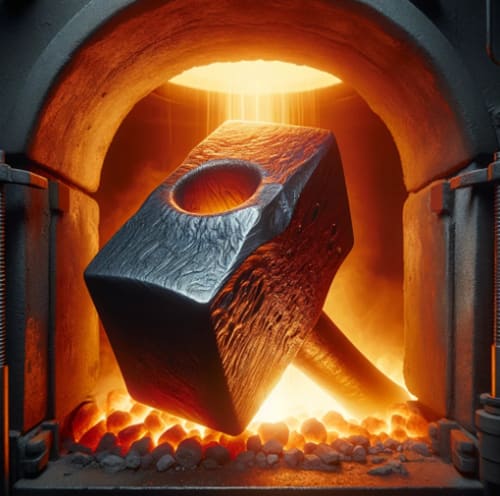
- Forging: Once the materials are selected, the metal for the hammerhead is heated to a specific temperature. The heated metal is then shaped into the basic form of the hammer head using a forging press or through manual forging techniques. This step is critical for establishing the hammer's strength and durability.
- Cutting and Shaping: After the initial forging, the hammerhead undergoes precise cutting to remove any excess material. This process ensures that the hammer face, claw, and other features are accurately shaped and ready for further refinement.
- Heat Treatment: To enhance the hammerhead's hardness and toughness, it undergoes heat treatment. This involves quenching, where the heated hammer head is rapidly cooled, followed by tempering. Tempering involves reheating the hammerhead at a lower temperature to relieve internal stresses, which prevents brittleness and increases overall toughness.
- Grinding and Polishing: Following heat treatment, the hammerhead is carefully ground and polished. This step removes any remaining oxide layers, burrs, or imperfections from the surface, resulting in a smooth, refined finish that contributes to the hammer's performance and appearance.
- Assembly: The next step is to securely attach the handle to the hammerhead. For wooden handles, the handle is typically inserted into a hole in the hammer head and secured with a wedge to ensure a tight fit. In the case of metal or fiberglass handles, adhesives or bolts may be used to attach the handle securely to the head.
- Coating: To protect the hammer from rust and corrosion, a protective coating is applied to the hammerhead. This coating can be in the form of anti-rust paint, a powder coating, or another type of protective finish, which also enhances the hammer's overall aesthetic appeal.
- Quality Inspection: Before the hammers are ready for the market, a thorough quality inspection is conducted. This involves checking the hammer’s weight, balance, and the secure attachment of the handle to the head. Only hammers that meet strict quality standards are approved for sale.
- Packaging: The final step in the manufacturing process is packaging the hammers. This involves carefully packing the hammers in a way that protects them during transportation and handling, ensuring they reach customers in perfect condition.
Post time: 09-10-2024